
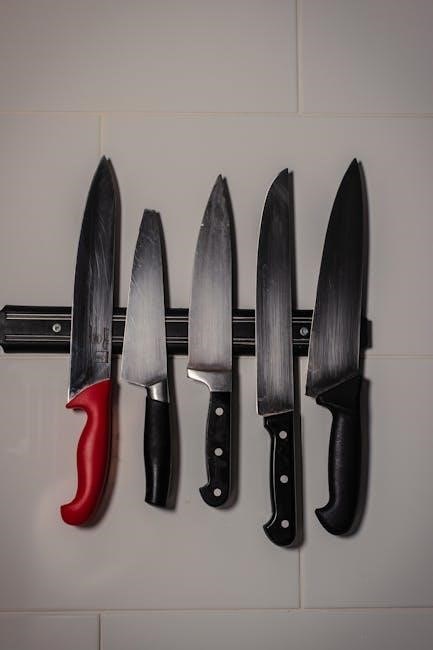
Chef’s Choice sharpeners deliver incredibly sharp, triple-bevel Trizor edges on kitchen, sporting, and pocket knives. These innovative tools ensure knives stay sharper for extended periods, enhancing culinary experiences.
What is a Chef’s Choice Knife Sharpener?
Chef’s Choice knife sharpeners are electric sharpening systems designed to restore and maintain the edge on a wide variety of knives. Utilizing diamond abrasives, these sharpeners create a uniquely sharp, durable “Trizor” edge – a three-sided edge for maximum cutting performance and longevity. Models like the Professional 100, 110, 450, and 290 cater to different needs, from basic kitchen knives to specialized Asian blades. They offer a convenient and consistent alternative to traditional sharpening methods, ensuring professional-level results at home.
Benefits of Using a Chef’s Choice Sharpener
Chef’s Choice sharpeners offer numerous advantages. They deliver consistently sharp edges, enhancing kitchen safety and efficiency. The Trizor edge technology provides superior cutting power and edge retention compared to conventional sharpening. These sharpeners are easy to use, requiring minimal skill, and offer a faster sharpening process. They accommodate various knife types, eliminating the need for multiple tools, and provide professional results, extending the lifespan of your valuable knives;

Understanding Your Chef’s Choice Model
Chef’s Choice offers diverse models – 100, 110, 450, and 290 – each designed with unique features to cater to different sharpening needs and knife types.
Identifying Your Specific Model (100, 110, 450, 290)
Determining your Chef’s Choice model is crucial for proper use. The Model 100 is a classic, manual sharpener. The Professional 110 is a heavy-duty option for robust sharpening. The Model 450 features a two-stage sharpening process, while the Model 290 utilizes Hybrid AngleSelect technology.
Carefully examine the base or body of your sharpener; the model number is typically printed on a label or directly molded into the plastic. Knowing your model ensures you follow the correct instructions for optimal results and maintain your knives effectively.
Key Components of the Sharpener
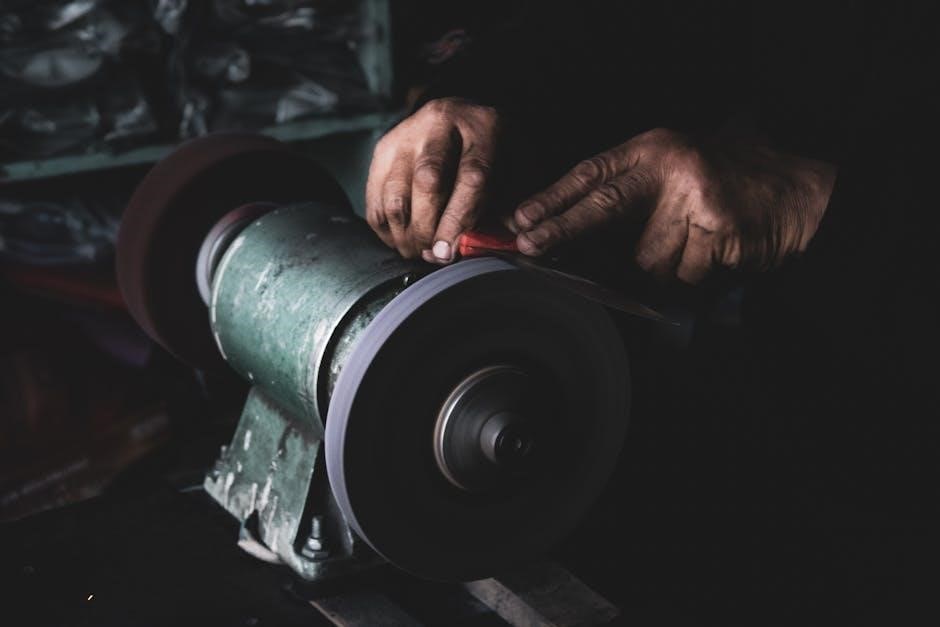
Chef’s Choice sharpeners feature several key components. These include diamond abrasives for sharpening, slots for guiding the knife, and angle guides to ensure consistent bevels. The Model 290 boasts Hybrid AngleSelect technology.
Understanding these parts is vital. Familiarize yourself with each feature before use (refer to Figure 1). Proper component recognition allows for safe and effective sharpening, maximizing the lifespan of your knives and the sharpener itself. Regular cleaning of the diamond abrasives is also essential.
Safety Precautions
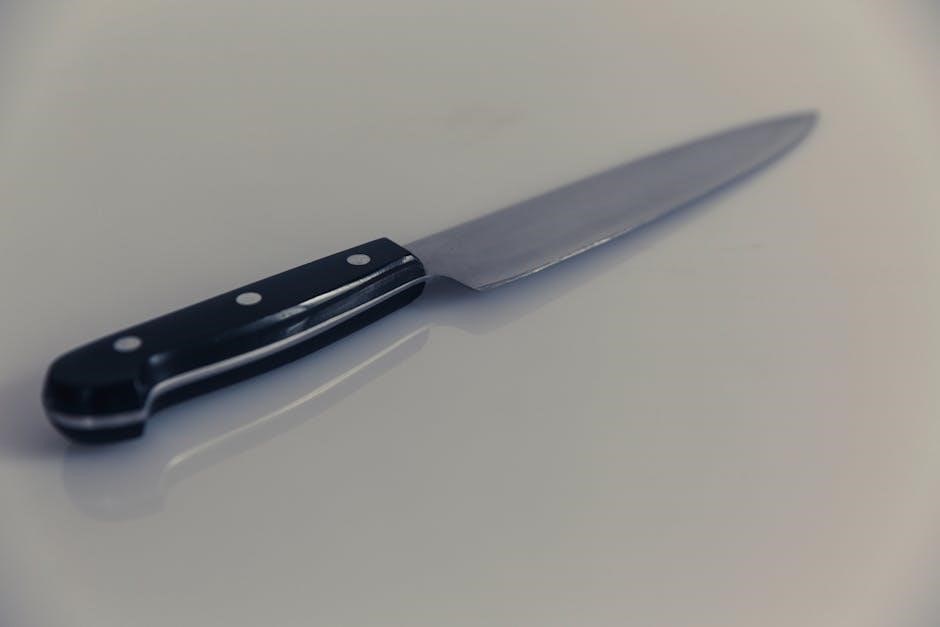
Warning: Properly sharpened knives are exceptionally sharp! Handle with extreme care, avoiding cuts. Store safely and never test the edge with your fingers.
Warning: Extremely Sharp Knives
Caution is paramount when using a Chef’s Choice sharpener. Knives sharpened with this device achieve a level of sharpness exceeding typical blades, presenting a significant potential for injury if mishandled. Always exercise extreme care during use and when handling sharpened knives.
Never cut towards any part of your fingers, hand, or body. Avoid running your finger along the blade’s edge to test sharpness – this is a dangerous practice. Proper storage in a safe location, away from easy reach, is crucial to prevent accidental cuts;
Proper Handling and Storage
Safe handling begins with a firm grip and controlled movements during sharpening. After sharpening, carefully remove the knife from the sharpener, avoiding any sudden motions. Always inspect the blade for any imperfections before use.
Secure storage is equally vital. Store sharpened knives in a designated knife block, sheath, or drawer with dividers to prevent accidental contact. Keep them out of reach of children and pets. Regular inspection of storage solutions ensures continued safety.
Preparing to Sharpen
Before use, place the Chef’s Choice Diamond Hone sharpener on a stable, level surface like a kitchen counter or table for optimal results.
Surface Requirements: Level Table or Counter
Ensuring a stable and level surface is paramount for safe and effective sharpening with your Chef’s Choice sharpener. A wobbly or uneven surface can lead to inconsistent sharpening, potentially damaging your knives or the sharpener itself.
Always position the unit on a solid table or kitchen counter, verifying its stability before beginning the sharpening process; This prevents unwanted movement during operation, allowing for precise angle control and consistent results. Prioritize safety and accuracy by confirming a firm, level base;
Familiarizing Yourself with the Sharpener Features (Figure 1)
Before initiating the sharpening process, take a moment to understand your Chef’s Choice sharpener’s components. Refer to Figure 1 in the manual to identify key features, including the sharpening stages, angle guides, and knife slots.
Understanding these elements will optimize your sharpening experience. Knowing the function of each part ensures proper usage and maximizes the sharpener’s capabilities. This preliminary step promotes safety and contributes to achieving professional-quality results with every use.
Sharpening Stages ― General Overview
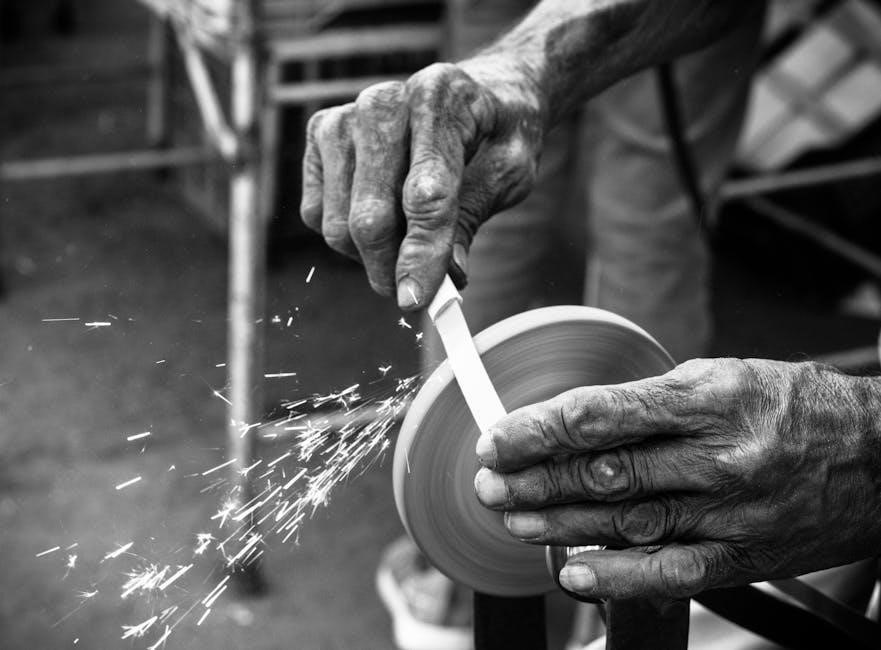
Chef’s Choice sharpeners typically employ a two-stage process: creating the initial bevel and then refining/polishing the edge for optimal sharpness and longevity.
Stage 1: Creating the Initial Bevel
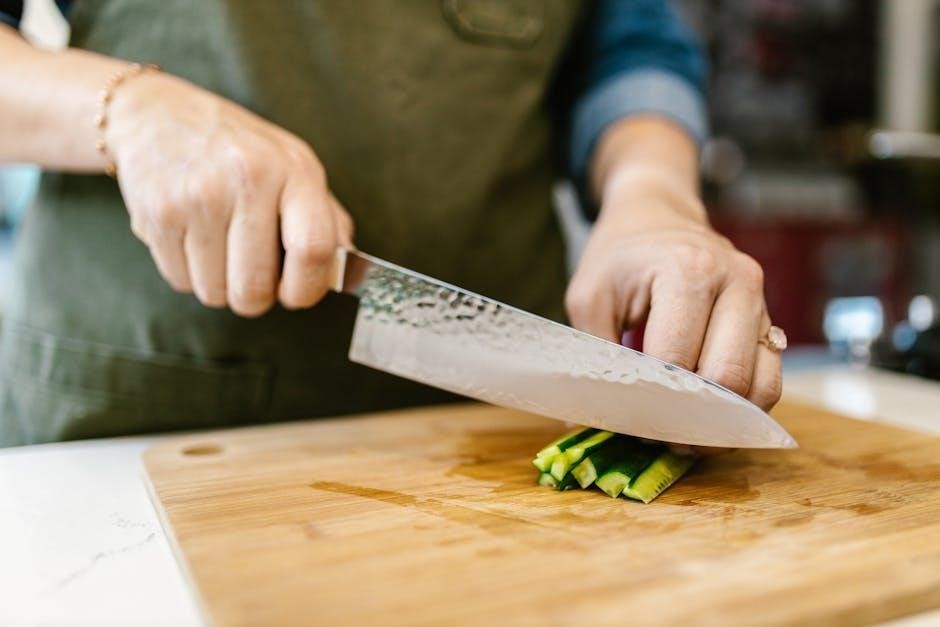
Stage 1 focuses on establishing the foundational bevel of the knife’s edge; This crucial step utilizes diamond abrasives to carefully remove metal, forming the angle necessary for sharpness. Proper technique, including the correct grip (Figure 4), is vital.
Consistent pressure and maintaining the appropriate angle throughout each pass are key to achieving a uniform bevel. This initial shaping prepares the blade for the refining stage, ensuring a durable and effective cutting edge.
Stage 2: Refining and Polishing the Edge
Stage 2 refines the bevel created in Stage 1, transitioning from shaping to polishing. Finer diamond abrasives are employed to remove microscopic imperfections and create an exceptionally sharp edge. This stage enhances the knife’s cutting performance and extends its sharpness duration.
Maintaining consistent passes and light pressure is crucial during this phase. It’s about smoothing, not removing significant material, resulting in a polished, razor-sharp blade ready for precise cutting tasks.
Detailed Sharpening Instructions ౼ Model 100
Model 100 utilizes a specific grip technique (Figure 4) and angle guidance system to effortlessly create the signature Trizor edge for optimal sharpness.
Grip Technique (Figure 4)
Proper grip is crucial for consistent sharpening with the Chef’s Choice Model 100. Hold the knife firmly, placing your index finger and thumb on either side of the blade near the bolster. Ensure your remaining fingers are tucked safely behind, avoiding contact with the sharpening slots.
Maintain a slight downward pressure as you draw the blade through each slot, following the angle guidance system. This technique ensures even sharpening and the creation of the precise Trizor edge. Consistent pressure and a secure grip are key to achieving professional results.
Angle Guidance System
The Chef’s Choice 100 features a sophisticated angle guidance system, simplifying the sharpening process. This system pre-sets the optimal 15-degree angle for creating the renowned Trizor edge. Users simply draw the blade through the designated slots, eliminating guesswork and ensuring consistent results.
This innovative design accommodates various knife blade shapes and sizes, providing a user-friendly experience. The angle guidance system is pivotal in achieving professional-quality sharpness without requiring specialized skills or knowledge, making it ideal for both novice and experienced users.
Detailed Sharpening Instructions ౼ Model 110
Model 110 is a heavy-duty sharpener; always use extreme care with sharpened knives, as they will be exceptionally sharp and potentially dangerous.
Heavy Duty Sharpening Process
The Professional 110 utilizes a two-stage sharpening process for robust blade restoration. Begin by firmly holding the knife with the grip illustrated in Figure 4, ensuring consistent angle maintenance throughout each pass. Draw the blade through Stage 1 multiple times, applying gentle pressure.
Subsequently, transition to Stage 2 to refine and polish the newly formed edge, repeating the process with similar pressure and angle control. Remember, caution is paramount due to the resulting exceptional sharpness.
Adjusting for Different Knife Types
The Chef’sChoice 110 excels with various blade types, though technique adjustments are key. For thicker, heavier blades, maintain consistent pressure and slower passes through each stage. Finer blades benefit from lighter pressure and quicker strokes.
Always prioritize maintaining the correct angle throughout the sharpening process. Regularly inspect the blade’s edge to assess progress and adjust pressure accordingly, ensuring optimal results for each knife.

Detailed Sharpening Instructions ౼ Model 450
The Model 450 utilizes a two-stage sharpening procedure, initially creating the bevel and then refining/polishing the edge for lasting sharpness.
Two-Stage Sharpening Procedure
The Chef’s Choice 450 employs a straightforward two-stage system for optimal sharpening. Stage one establishes the initial bevel, carefully removing material to form the knife’s cutting angle. Subsequently, stage two refines and polishes this newly formed edge, achieving a remarkably sharp and durable result. This process ensures your knives not only become exceptionally sharp but also retain their sharpness for a significantly longer duration, enhancing your overall cutting experience and kitchen efficiency.
Maintaining Sharpness with Stage 2
Regular use of Stage 2 on the Chef’s Choice 450 is crucial for preserving the exceptional sharpness achieved in Stage 1. This polishing stage subtly realigns the knife’s edge, removing microscopic imperfections that develop with use. Consistent application of Stage 2, even briefly, extends the time between full sharpenings, ensuring your knives remain consistently ready for precise cutting tasks and maintaining peak performance in the kitchen.
Detailed Sharpening Instructions ౼ Model 290
Model 290 features Hybrid AngleSelect technology, designed to expertly sharpen both Asian-style and Western knives with precision and ease, optimizing edge quality.
Asian vs. Western Knife Sharpening
Asian knives typically feature a 15-degree edge angle, creating a sharper, more delicate edge ideal for precise cuts. Western knives generally have a 20-degree edge, offering durability and robustness for various kitchen tasks.
The Chef’s Choice Model 290 uniquely addresses both styles with its Hybrid AngleSelect technology. This allows users to effortlessly switch between sharpening angles, ensuring optimal results for any knife type. Proper angle selection is crucial for achieving and maintaining the desired edge performance and longevity.
Hybrid AngleSelect Technology
Chef’s Choice Model 290 incorporates innovative Hybrid AngleSelect technology, designed to expertly sharpen both Asian and Western-style knives. This feature allows for precise angle adjustments, catering to the specific needs of each blade geometry.
Users can easily select the appropriate 15-degree setting for Asian knives or the 20-degree setting for Western knives, ensuring optimal sharpening results. This adaptability provides versatility and convenience, maximizing the sharpener’s functionality and delivering professional-quality edges.
Troubleshooting Common Issues
If knives aren’t sharpening effectively, or exhibit uneven results, ensure proper grip and consistent pressure during the sharpening process for optimal performance.
Knife Not Sharpening Effectively
If your knife isn’t sharpening as expected, several factors could be at play. First, verify you’re using the correct sharpening stage for your knife type and condition. Ensure consistent, moderate pressure throughout each pass, maintaining the proper angle guidance provided by the sharpener.
Also, confirm the diamond abrasives are clean and free of metal filings, as buildup can hinder the sharpening process. Finally, double-check your grip technique (Figure 4) to guarantee consistent contact with the sharpening wheels.
Uneven Sharpening
Uneven sharpening often results from inconsistent pressure or angle during the sharpening process. Maintain a firm, even grip and ensure the knife blade consistently contacts both sharpening stages equally. Avoid applying excessive force, which can cause one side of the blade to sharpen faster than the other.
Review the angle guidance system and your grip technique (Figure 4) to confirm proper alignment. Regularly inspect the blade’s edge to identify and correct any inconsistencies as they arise.
Maintenance and Cleaning
Regular cleaning is crucial for optimal performance. Remove metal shavings from the diamond abrasives after each use, and store the sharpener in a safe, dry location.
Cleaning the Diamond Abrasives
Maintaining clean diamond abrasives is essential for consistent sharpening results. After each use, carefully inspect the sharpening stages for accumulated metal filings. These filings can hinder the sharpening process and affect the edge quality. Gently brush away any debris using a soft brush or cloth.
Avoid using water or cleaning solutions, as they can damage the diamond abrasives. Regular cleaning ensures the sharpener continues to deliver professional-grade sharpening performance, extending its lifespan and preserving the integrity of your knives.
Storage Recommendations
Proper storage safeguards your Chef’s Choice sharpener and ensures its longevity. After cleaning, store the unit in a cool, dry location, away from direct sunlight and moisture. A kitchen cabinet or pantry shelf is ideal. Avoid storing it with abrasive materials that could scratch the surface or damage the components.
Protecting the sharpener from dust and debris will maintain its optimal performance. Careful storage contributes to consistent sharpening results and extends the life of your valuable kitchen tool.
Sharpening Different Knife Types
Chef’s Choice sharpeners effectively handle kitchen, sporting, and pocket knives. Adjusting techniques based on blade geometry ensures optimal sharpness for each knife type.
Kitchen Knives
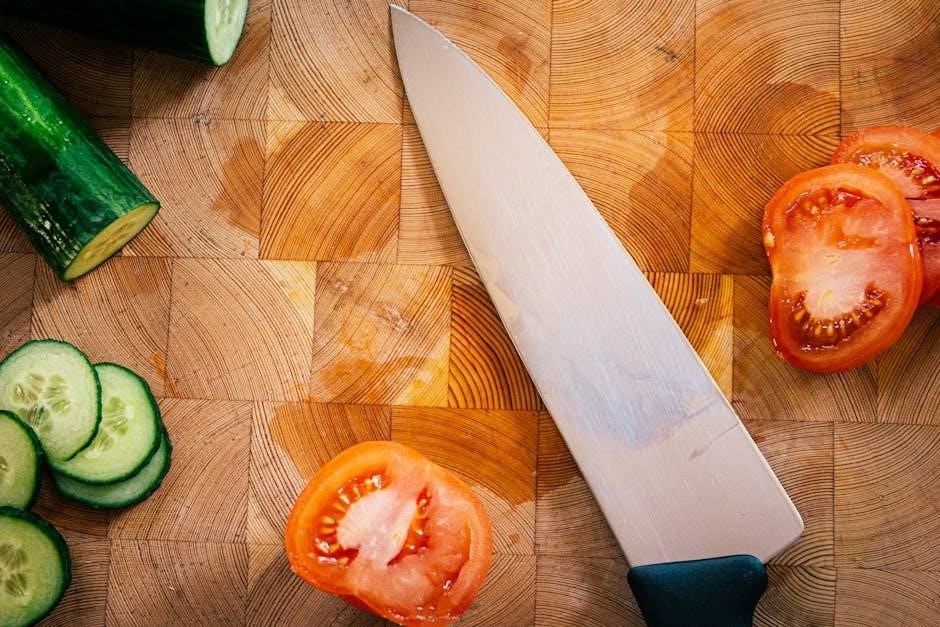
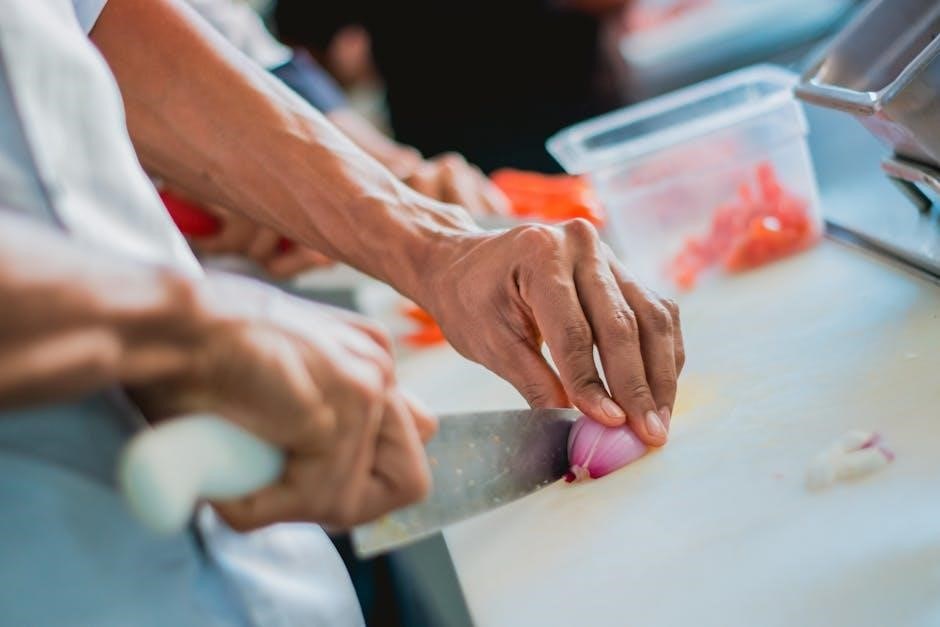
Chef’s Choice sharpeners excel at restoring the edge on various kitchen knives, from chef’s knives to paring knives. Utilizing the appropriate stage and angle is crucial for optimal results. For most kitchen knives, the standard sharpening procedure involving Stages 1 and 2 will deliver a remarkably sharp and durable edge. Remember to maintain a consistent grip and follow the angle guidance system for uniform sharpening across the entire blade length, ensuring safety and efficiency.
Sporting and Pocket Knives
Chef’s Choice sharpeners are also effective for sharpening sporting and pocket knives, though adjustments may be needed. These knives often have different blade angles than kitchen knives. Utilizing Stage 1 creates the initial bevel, while Stage 2 refines and polishes the edge for lasting sharpness. Always exercise extreme caution when handling freshly sharpened sporting and pocket knives, as they become exceptionally sharp and require careful storage to prevent accidental injury.
Advanced Techniques
Chef’s Choice sharpeners offer repairs and replacements for components, extending the life of your sharpener and maintaining optimal performance for years to come.
Repairs and Replacements
Chef’s Choice understands that even with careful use, components may eventually wear down. For continued optimal performance, consider utilizing available repair options. Replacement diamond abrasives are crucial for maintaining the sharpening quality, and are readily accessible through the manufacturer or authorized retailers. Regularly inspecting and replacing worn parts ensures your sharpener consistently delivers the precise, razor-sharp edges it was designed to create, maximizing its lifespan and your knife’s performance. Don’t hesitate to explore these options!
Extending the Life of Your Sharpener
To maximize the longevity of your Chef’s Choice sharpener, consistent cleaning is paramount. After each use, meticulously remove metal filings from the diamond abrasives. Proper storage, away from moisture and extreme temperatures, also contributes significantly. Avoid applying excessive pressure during sharpening, as this can accelerate wear. By following these simple maintenance practices, you’ll ensure years of reliable performance and consistently sharp knives, protecting your investment and culinary enjoyment.
Resources and Support
Access comprehensive manuals and documentation on ManualsLib for your Chef’s Choice model. For direct assistance, contact customer support for expert guidance and troubleshooting.
ManualsLib and Online Documentation
ManualsLib provides a valuable resource for accessing detailed instruction manuals for various Chef’s Choice models, including the 100, 110, 450, and 290. These downloadable PDFs offer step-by-step guidance on sharpening techniques, safety precautions, and maintenance procedures. Online documentation often includes helpful diagrams, like Figure 1, illustrating sharpener features and proper usage. Users can find information on creating Trizor edges, adjusting for different knife types, and troubleshooting common issues, ensuring optimal performance and longevity of their sharpener.
Contacting Customer Support
Chef’s Choice offers dedicated customer support to assist users with any questions or concerns regarding their knife sharpeners. While specific contact details aren’t readily available in the provided snippets, accessing the official Chef’s Choice website is recommended. There, you’ll likely find a comprehensive FAQ section, troubleshooting guides, and contact information – potentially including phone numbers or email addresses – for direct assistance. Prompt support ensures optimal sharpening results and addresses any operational difficulties effectively.