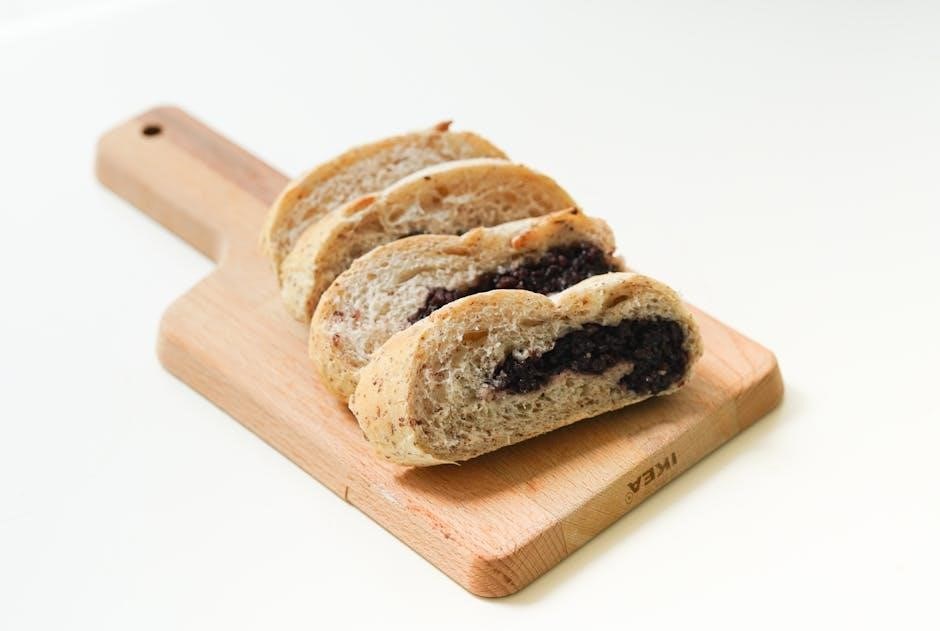
End grain cutting boards combine durability with natural beauty, offering a unique aesthetic and long-lasting performance, making them a popular choice for woodworkers and home cooks alike.
Benefits of End Grain Cutting Boards
End grain cutting boards offer exceptional durability, resistance to scratches, and a stunning natural appearance, making them a practical and visually appealing choice for kitchens while promoting sustainability.
2.1. Durability and Longevity
End grain cutting boards are renowned for their exceptional durability and longevity, making them a superior choice for kitchen use. The vertical orientation of the wood grain enhances resistance to knife marks and scratches, unlike edge grain boards. This structure allows the wood fibers to compress and rebound, minimizing damage from daily use. Additionally, end grain boards are less prone to cracking and warping, ensuring a stable and flat cutting surface over time. With proper care, these boards can last for many years, maintaining their functionality and appearance. The dense grain pattern also contributes to their resilience, providing a durable surface that withstands heavy-duty chopping and slicing. This makes end grain cutting boards a worthwhile investment for home cooks and professional chefs seeking a long-lasting kitchen tool.
2.2. Aesthetic Appeal and Visual Attraction
End grain cutting boards are not only functional but also visually stunning, offering a unique aesthetic that enhances any kitchen. The end grain construction showcases the natural beauty of the wood, with its intricate grain patterns creating a visually appealing design. This orientation highlights the wood’s natural texture and color variation, making each board a one-of-a-kind piece. The use of contrasting wood species can add further visual interest, allowing for creative patterns and designs. For instance, combining light and dark wood tones can create striking plaid or geometric motifs. The smooth, even surface of an end grain board also reflects light beautifully, adding to its attractive appearance. These boards are often considered decorative pieces, blending seamlessly into modern or traditional kitchen settings. Their visual appeal makes them a popular choice for both practical use and as a stylish addition to the kitchen.
Materials and Tools Required
Hardwood, glue, and oil are essential. Tools include planers, miter saws, table saws, routers, sanders, and clamps. Safety gear like push sticks is vital. Handles and inlays add customization.
3.1. Types of Wood for End Grain Cutting Boards
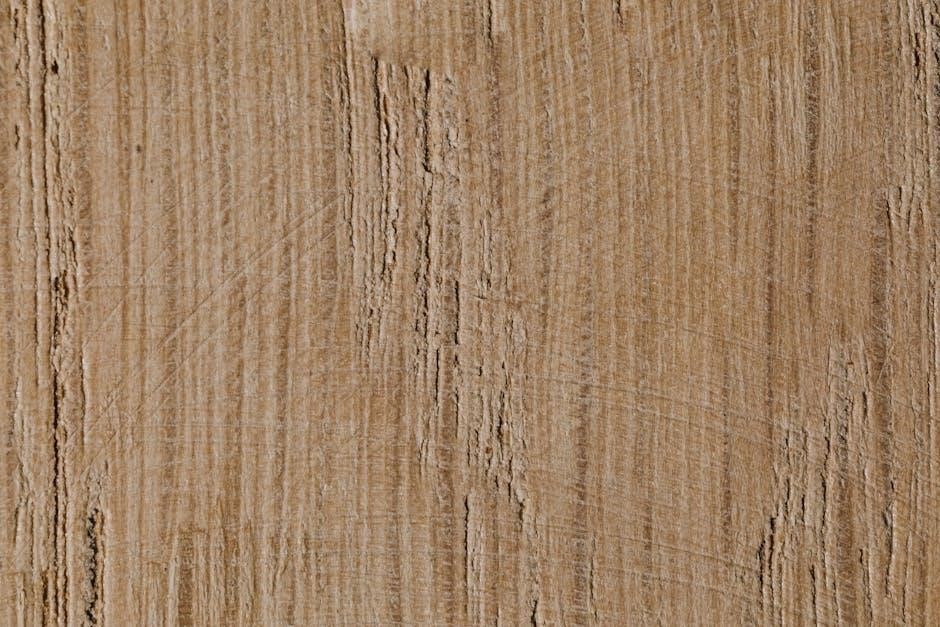
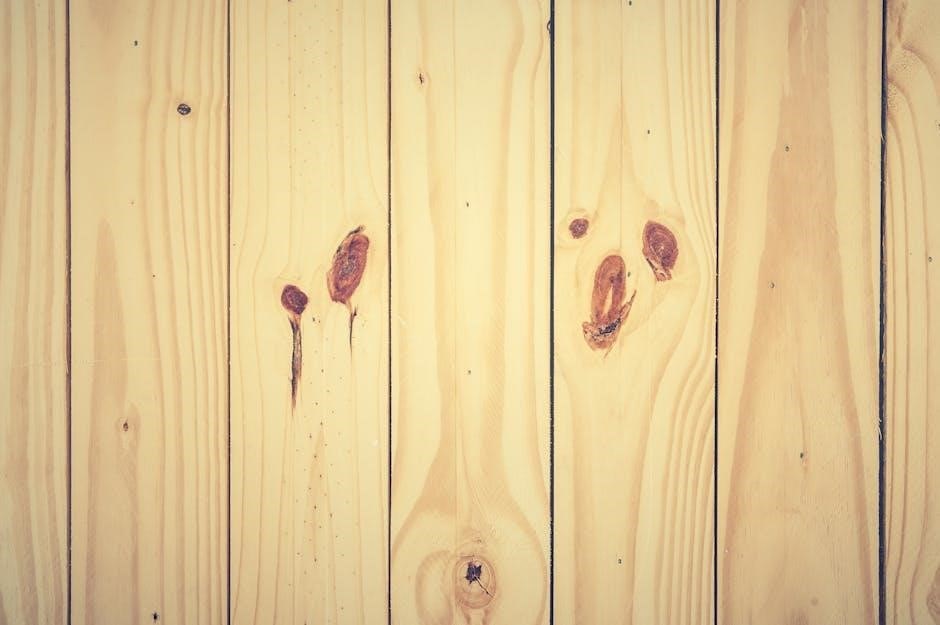
Selecting the right wood is crucial for durability and aesthetics. Hardwoods like maple, walnut, and cherry are popular choices due to their density and resistance to wear. Maple offers a light, even grain, while walnut provides a rich, dark contrast. Cherry combines strength with a beautiful reddish hue that deepens over time. For sustainability, consider salvaged wood, such as longleaf pine heartwood, which is prized for its strength and vibrant color. Avoid softwoods, as they are less durable and more prone to scratches. Properly dried and prepared wood ensures a stable and long-lasting cutting board. Always opt for food-safe finishes and oils to protect the wood and maintain its natural beauty. The choice of wood directly impacts the functionality and visual appeal of the final product, making it a key decision in the crafting process.
3.2. Essential Tools for Construction
Building an end grain cutting board requires a well-equipped workshop. Essential tools include a table saw for ripping wood into strips, a miter saw for precise crosscuts, and a benchtop planer to ensure uniform thickness. A router is useful for creating decorative edges or juice grooves, while a random-orbit sander ensures a smooth finish. Clamps are vital for gluing and assembling the board, and a push stick enhances safety during table saw operations. Additional tools like chisels, sandpaper, and a tape measure are also necessary for fine-tuning and fitting pieces together. For finishing, a clean cloth and food-safe oil or wax are essential to protect the wood and enhance its appearance. Proper tools ensure precision, safety, and a professional-quality finish, making the construction process both efficient and rewarding.
Step-by-Step Construction Guide
Learn to craft an end grain cutting board through detailed steps: preparing wood, assembling strips, sanding, and finishing. Each phase ensures a durable, visually appealing, and functional final product.
4.1. Preparing the Wood
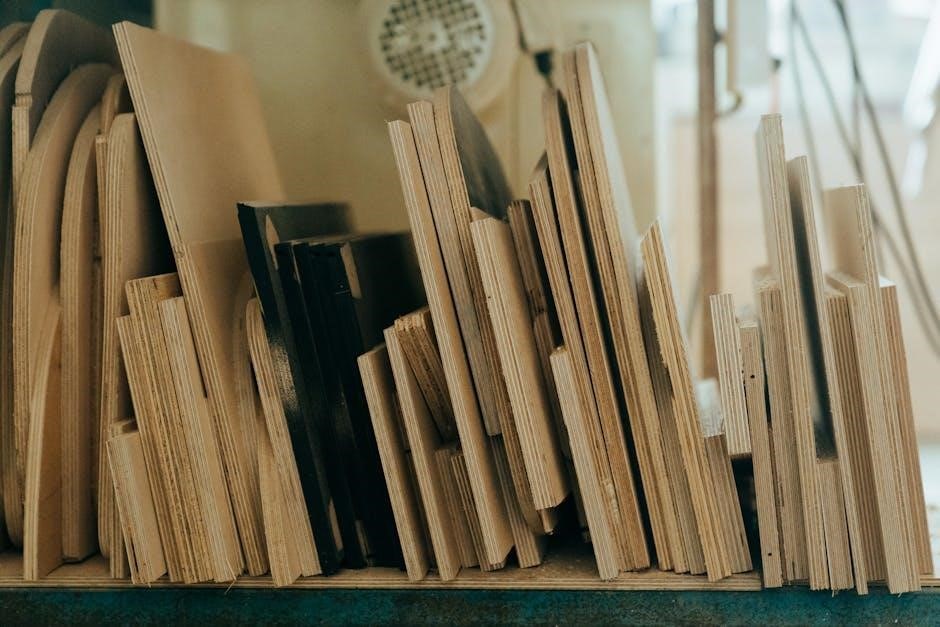
Preparing the wood is the first critical step in constructing an end grain cutting board. Begin by selecting high-quality, suitable wood species, such as hardwoods like maple or walnut, known for their durability and grain patterns. Use a benchtop planer to flatten both faces of the wood, ensuring consistent thickness. Next, cut the wood into manageable strips using a miter saw, squaring the ends for precise alignment. Trim any weathered edges with a table saw and rip the strips to uniform thickness. To prevent warping, alternate the grain direction of the strips during assembly. Proper preparation ensures a smooth and stable surface for the next steps. Always handle power tools safely, using push sticks or other safety aids to avoid accidents. Uniform thickness and proper alignment are key to achieving a professional-looking final product. This step sets the foundation for a successful and visually appealing end grain cutting board.
4.2. Assembling the Board
Assembling the end grain cutting board requires careful alignment and gluing of the prepared wood strips. Start by applying wood glue evenly to the edges of the strips, ensuring complete coverage. Alternate the grain direction of the strips to prevent warping and promote stability. Use clamps to secure the strips together, applying even pressure to avoid gaps. Wipe away any excess glue with a damp cloth to maintain a clean finish. Allow the glue to dry completely before proceeding. Once dry, cut the panels into identically sized strips and arrange them with the end grain facing up, offsetting the joints for a visually appealing pattern. Glue these strips together to form a single panel, clamping firmly to ensure proper adhesion. Let the assembly dry thoroughly before moving on to sanding and finishing. This step is crucial for achieving a flat, stable, and attractive cutting board.
4.3. Sanding and Finishing
Sanding and finishing are critical steps to ensure your end grain cutting board is smooth, durable, and food-safe. Begin by sanding all surfaces with a random-orbit sander, starting with 100-grit sandpaper and progressing to 320-grit for a polished finish. Pay special attention to edges and corners, rounding them slightly for a comfortable feel. After sanding, apply a food-grade mineral oil evenly across the board, allowing it to soak in for 20 minutes before wiping off excess. Repeat this process to enhance the wood’s natural color and protect it from moisture. For added functionality, consider routing a shallow juice groove around the edges or carving recessed handles. Once all features are complete, perform a final light sanding to ensure a seamless finish. Regular oiling will maintain the board’s appearance and prevent cracking, ensuring it remains a durable and attractive kitchen tool for years to come.
Custom Design Options
Customize your end grain cutting board with unique patterns, inlays, handles, and juice grooves for a personalized touch, enhancing functionality and visual appeal in the kitchen.
5.1. Creating Patterns and Inlays
Adding patterns and inlays to your end grain cutting board is a great way to infuse personal style and creativity. By using contrasting wood species, you can create visually striking designs, such as geometric patterns or intricate motifs. For example, alternating light and dark wood strips can mimic a plaid or tartan design, while inlays made from metal or other materials can add a touch of elegance. To achieve this, woodworkers often use a router for precision cuts and a miter saw for clean, angled joints; Proper planning is essential to ensure the design aligns seamlessly during assembly. Inlays can also be used to add functional elements, such as juice grooves or handles, blending aesthetics with practicality. This step allows you to transform a simple cutting board into a unique, handcrafted piece that reflects your artistic vision.
5.2. Adding Handles and Juice Grooves
Enhance functionality and aesthetics by incorporating handles and juice grooves into your end grain cutting board. Handles provide easy mobility, while juice grooves catch liquids during carving. For handles, you can either carve recessed grips into the board or attach drawer handles for a rugged look. Juice grooves are typically created using a router, ensuring smooth, even cuts around the board’s perimeter. These additions not only improve practicality but also add a professional finish. Proper planning is crucial to maintain balance and symmetry. By integrating these features, your cutting board becomes both functional and visually appealing, making it a standout piece in any kitchen. This step allows for personalization, ensuring your project is both unique and highly practical for everyday use. Handles and grooves elevate the board’s utility while showcasing your craftsmanship.
Maintenance and Care Tips
Proper maintenance is essential to extend the life of your end grain cutting board. Regularly apply food-safe mineral oil to protect the wood and maintain its finish. Avoid using harsh chemicals or abrasive cleaners, as they can damage the surface. Instead, clean the board with mild soap and warm water, then dry it thoroughly. Never soak the board or put it in the dishwasher, as this can cause warping or cracking. For stubborn stains, gently scrub with a non-abrasive sponge. Periodically re-oil the board, especially after heavy use, to prevent drying out. Store the board in a dry place, away from direct sunlight, to maintain its color and integrity. By following these care tips, your end grain cutting board will remain durable, functional, and visually appealing for years to come.
Troubleshooting Common Issues
When building or using an end grain cutting board, common issues like warping, uneven joints, or splitting may arise. To address warping, ensure the wood is properly sealed and dried before assembly. For uneven joints, sand the surface lightly and reapply glue if necessary. If the board develops cracks, apply wood glue and clamp it tightly until dry. Discoloration can occur due to uneven oiling; maintain a consistent oiling schedule to prevent this. To avoid stains, clean spills immediately and re-oil the area. If the board becomes slippery, lightly sand the surface to restore texture. Regular maintenance and proper care can prevent most issues, ensuring your cutting board remains functional and attractive for years. Addressing problems early helps maintain the board’s durability and aesthetic appeal.
Creating an end grain cutting board is a rewarding project that combines functionality with artistic craftsmanship. The process allows woodworkers to showcase the natural beauty of wood while crafting a durable and practical kitchen tool. By following the steps outlined in this guide, you can create a custom cutting board that stands out for its aesthetic appeal and longevity. Whether you’re a seasoned woodworker or a beginner, this project offers a fulfilling experience and a sense of accomplishment. The ability to personalize the design, from choosing wood species to adding decorative touches, makes each board unique. With proper care and maintenance, your end grain cutting board will become a cherished addition to your kitchen, serving as both a functional utensil and a testament to your creativity and skill.
Additional Resources and Plans
If you’re looking for more detailed guidance or inspiration for your end grain cutting board project, there are numerous resources available online. Websites like The Spruce Crafts and WOOD Magazine offer step-by-step tutorials and free plans to help you get started. Additionally, platforms like YouTube and Pinterest provide visual guides and creative ideas for custom designs, including patterns, inlays, and handles. For those seeking printed plans, PDF guides are available for download on sites like WOOD Store and Rockler, offering precise measurements and expert tips.
These resources often include lists of essential tools, recommended wood types, and maintenance advice to ensure your cutting board lasts for years. Whether you’re a beginner or an experienced woodworker, these additional resources will help you refine your skills and create a professional-quality end grain cutting board.